Retrofitting - Plastic Pit

The following instructions detail how to modify a plastic pit with retroribs to fit around an existing conduit in the ground.
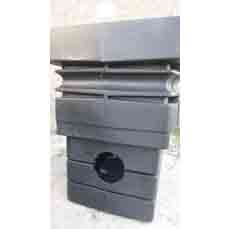
- Mark and cut 2 circular holes to the required diameter at both ends at the depth required. Use a hole saw or drill several small holes and knock the centre piece out with a hammer.
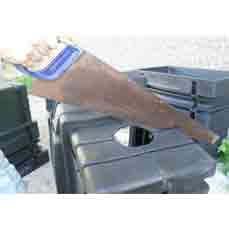
- Clean cut edges with a rough file if desired.
- Cut the pit at the Retroribs (cutting grooves) in-line with the cut holes. Use an angle grinder with a cutting disc or cut with a hand saw.
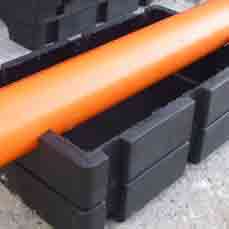
- Fit the pit base underneath the existing conduit. Cut conduit flush with the inside of the pit if required.
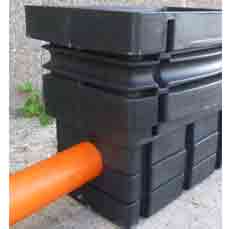
- Fit top section of pit over the pipe and align with pit base. Ensure the top of the pit is installed at the required finished floor level.
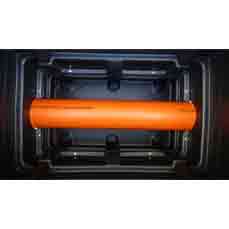
- Using self-tap screws, fix the two sections back together from inside the pit. Use a minimum of 8 screws spaced evenly around the retroribs.